Generating C# from Class Diagram in Visual Studio?
You can perform round-trip engineering in Visual Studio, to keep C# source code and class model in sync. In this tutorial, we will see how to create a class model in Visual Studio, and eventually generating source code from model.
Preparation
In order to follow and complete this tutorial, you must have Visual Paradigm installed, which can be downloaded from the Visual Paradigm download page. Of course, you also need Visual Studio, with the Visual Paradigm integration installed in advance. Finally, to make the tutorial easier to follow, we will not describe every minor step required to draw a class diagram in detail. We are assuming that you have the basic skills required to draw a UML class diagram in Visual Paradigm.
Designing a System with a UML Class Diagram
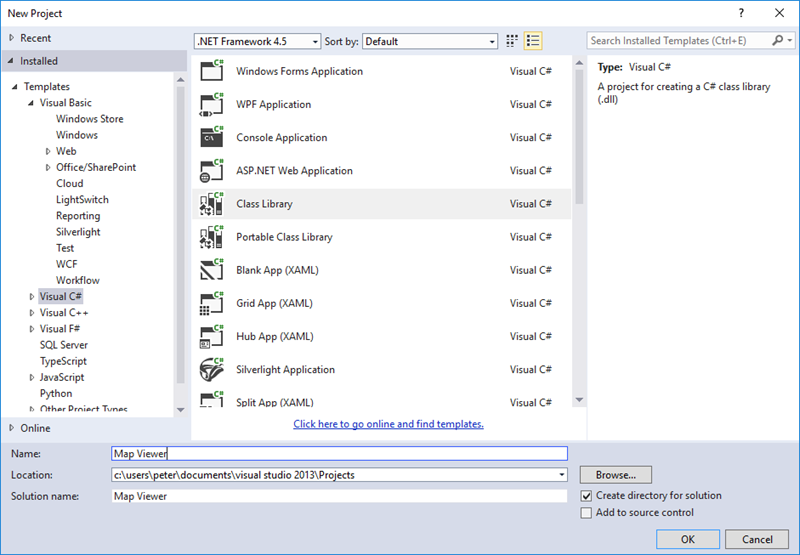
- Create a C# library project named Map Viewer in Visual Studio.
- Right-click on the project node in Solution Explorer and select Open Visual Paradigm from the popup menu.

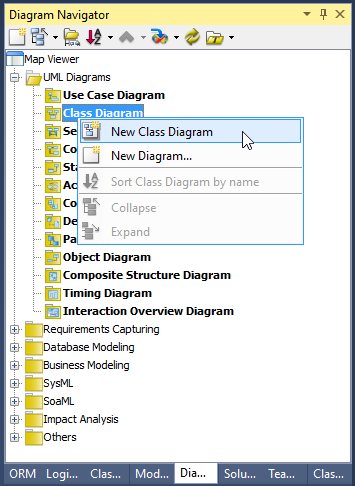
- In Diagram Navigator, right-click on Class Diagram and select New Class Diagram from the popup menu.
- A new diagram is created. You are asked to enter a package header at the top of the diagram. Enter myapp and press Enter. From now on, classes drawn in this diagram will be placed in a new package named myapp. In terms of code, those classes will be in the `myapp` namespace.

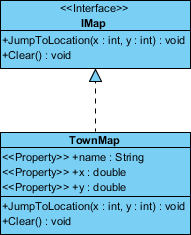
- Click the down arrow button next to the Class shape selection in the diagram toolbar, and select Interface.

- Click on the diagram to create an interface and name it `IMap`.

- Create operations in `IMap`. Right-click on the `IMap` interface and select Add > Operation from the popup menu.
- Enter JumpToLocation(x:int, y:int): void to create a public operation `JumpToLocation` with parameters x and y, and a void return type.

- Press Enter to create another operation. Name it `Clear() : void`. Click on the diagram to confirm.

- We need to create a class for a town map that implements `IMap`. Move the mouse pointer over the `IMap` interface, press on the Resource Catalog icon, and drag it out.

- Release your mouse button on an empty space. Select Realization -> Class from the Resource Catalog to create a new class.

- Name the class `TownMap` and press Enter to confirm.

- As the `TownMap` class is implementing the `IMap` interface, we need to implement the operations defined in `IMap`. Right-click on the `TownMap` class and select Related Elements > Realize all Interfaces from the popup menu. You can see that the operations `JumpToLocation` and `Clear` are both implemented.

- It is time to add properties to the class. Right-click on the `TownMap` class and select Add > Property from the popup menu.
- Enter `name : string` to name the property `name` and set its type to `string`. Press Enter to proceed to the next property. Enter `x : double` as the property name and type. Then, press Enter and create the property `y : double`.
- We need to create a new class, Region, with an aggregation association from the `TownMap` class. Again, use the Resource Catalog to create a class from `TownMap`. This time, use the Aggregation -> Class resource.

-
Follow the previous steps to create properties in the `Region` class.
Class Properties Region name : string desc : string x : double y : double - At this point, the diagram should look like this:

UML to C# Code Generation in Visual Studio
- Save your work via the File menu.
- Now it's time for code generation. Click the Update Code button in the Diagram Navigator.

- Check the Solution Explorer. You should see a list of generated files. You can open them to fill in the method bodies.

- This is the end of the tutorial. Instead of closing Visual Studio now, you may try something more by editing the code, like adding, renaming, or deleting classes, properties, and operations. Then select Update UML Model from the Diagram Navigator and observe the changes that are made to the class model. Enjoy!