Freehand shapes
Freehand shapes are multi-functional features in Visual Paradigm. With freehand shapes, you can not only draw various kinds of shapes, but also insert an annotation. If you want to stress an important message with visual effect, you may use word art rather than using a note or a callout because you can reshape the text in word art but not in a note or a callout. Moreover, the shapes in freehand are flexible that you can twist them freely, but you can only resize a note or a callout.
| Freehand toolbar interface |
Summary of freehand shapes
|
||||||||||||||||||||||||||||||||||||||||||||||||||||||||
| Summary of freehand shape |


Drawing free style path with pencil
- Press on the empty space on diagram pane and drag to form the outline.

Drawing with pencil - Release the mouse and new freehand shape will then be created.
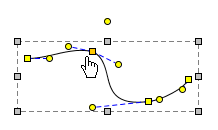
Activating the fine editing selector
Fine editing selector shows a second later after the freehand shape is being selected. To show it immediately, press keyboard 'N' key.
Press on a yellow selector for selecting and the selected selector will turn into orange. More fine editing selectors will appear for curve adjustment.
 |
| Selected fine editing selector |
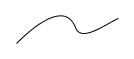
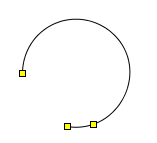
Drawing curve with pen
- Click on empty space on diagram pane and drag it to create the first stroke.

Straight line created - To create a curve, press and move the mouse. The indication line will appear. Release the mouse button when finishing editing. On the other hand, the last stroke can be cancelled by right clicking on the diagram.
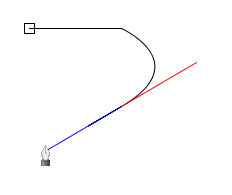
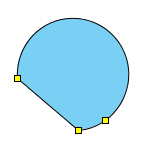
Creating curve - To confirm editing of the freehand shape, double click on diagram and a new freehand shape will be created. If the point returns to the starting point, it will form a closed path.
A close path
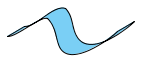
Drawing calligraphic path with calligraphic tool
- Press on the diagram and drag to form the outline of shape. Release the mouse to create the shape.
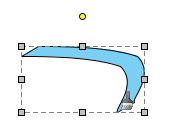
Freehand shape created - By combining several other calligraphic shapes, you can create a complete diagram.
Calligraphy example
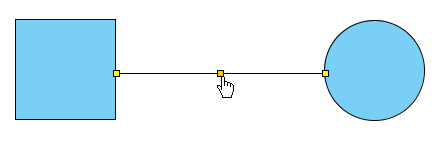
Draw straight and curve line with connector
- Press on a source shape and drag it to the destination shape.
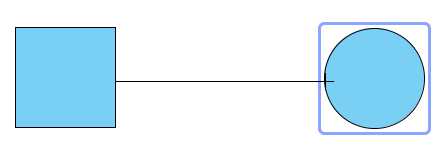
Connecting shapes - Release the mouse and a new connector will be created between them.
A line is created
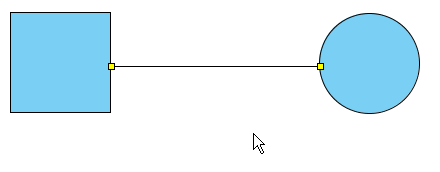
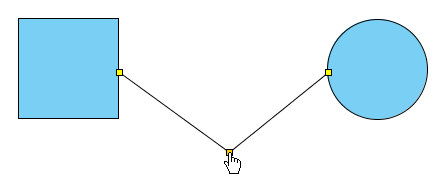
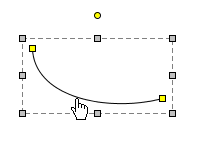
Bend a straight connector into a curve
- Press on a straight connector.
Clicking on straight line - Bend it to your preferred direction and it will become a curve connector.
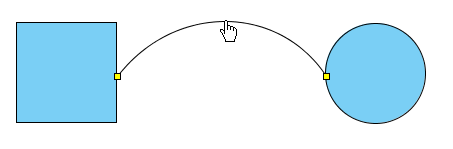
A curve connector
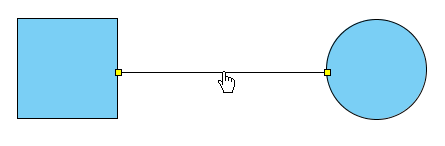
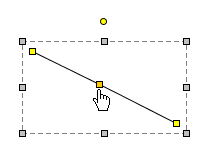
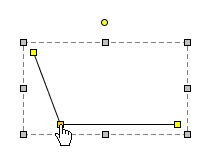
Split a straight connector
- Press the Ctrl key.
- Click on the specified location to split. A new point at where you have clicked will turn into orange.
Splitting line - Drag on that point to split the line.
Moving mid point
Drawing straight and curved line
- Press on the diagram pane and drag to form the outline.
- Release the mouse button and a straight line will be created.
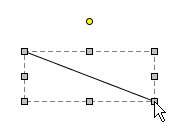
Line created
Bend a straight line into a curve
- Select a straight line for a second to wait for the fine editing selectors popping out.
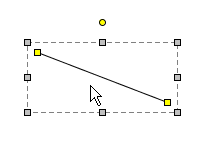
Showing fine editing selector - Press on the straight line. Drag it to bend into your preferred direction.
Dragging line as curve
Split straight line
- Press the Ctrl key.
- Click on the specified location to split. A new point at where you have clicked will turn into orange.
Splitting line - Drag on that point to split the line.
Moving mid point
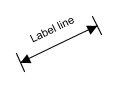
Drawing labelled line
- Press on the diagram and starting dragging to form its outline.
- Release the mouse button to create the labelled line.
Freehand shape created - Double click on the line. Enter the name for the line.
- Press Enter to confirm editing.
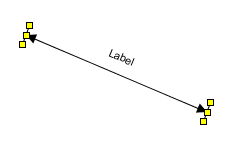
Label Line - You may drag the yellow selector to modify the line's outline.
Drawing rectangle
Click on the diagram to create a rectangle.
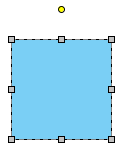 |
| Freehand shape created |
Drawing path rectangle
Click on the diagram to create a path rectangle.
 |
| Freehand shape created |
What's the difference between rectangle and path rectangle?
Path rectangle is formed by path, which enables you to freely reshape it, while rectangle always keeps shape as a rectangle.
Drawing rounded rectangle
Click on the diagram to create a rounded rectangle.
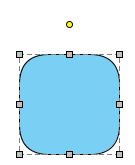 |
| Freehand shape created |
Drawing rounded rectangle 2
Click on the diagram to create a rounded rectangle 2.
|
| Freehand shape created |
What's the difference between rounded rectangle and rounded rectangle 2?
Rounded rectangle uses a single control point to control the deepness of corner, which ensures that the four corners remain consistent while rounded rectangle 2 uses two points to control the deepness of corner, which can produce irregular corners.
Drawing diamond
Click on the diagram to create a diamond shape.
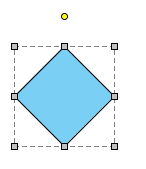 |
| Freehand shape created |
Drawing parallelogram
Click on the diagram to create a parallelogram shape.
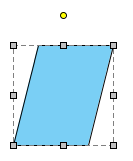 |
| Freehand shape created |
Drawing trapezoid
- Click on the diagram to create a trapezoid shape.
- You can adjust the slope by dragging the fine editing selectors in yellow.
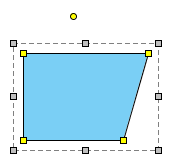
Other trapezoid outline
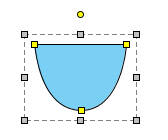
Drawing isosceles trapezoid
- Click on the diagram to create an isosceles trapezoid shape.
- You can reshape the Isosceles Trapezoid by dragging the fine editing selectors in yellow.
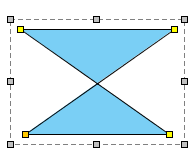
Other isosceles trapezoid outline
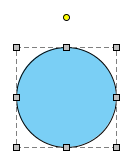
Drawing ellipse
Click on the diagram to create an ellipse shape.
 |
| Freehand shape created |
Drawing path ellipse
Click on the diagram to create a path ellipse shape.
 |
| Freehand shape created |
What's the difference between ellipse and path ellipse?
Path ellipse is formed by path, which enables you to freely reshape it while ellipse always keeps shape as an oval.
Drawing arc
- Click on the diagram to create an arc shape.
- You can extend the line by dragging on the fine editing selectors in yellow.
Other arc outline
Drawing chord
- Click on the diagram to create a chord shape.
- You can extend the arc of chord by dragging on the fine editing selectors in yellow.
Other Chord outline
Drawing pie
- Click on the diagram to create a pie shape.
- You can extend the arc of pie by dragging on the fine editing selectors in yellow.
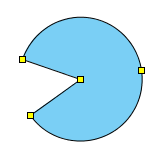
Other pie outline
Drawing hexagon
Click on the diagram to create a hexagon shape.
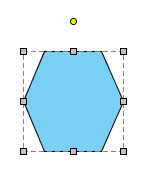 |
| Freehand shape created |
Drawing regular polygon
- Click on the diagram to create a regular polygon shape.
- You can modify the outline of shape by dragging the fine editor selectors in yellow.
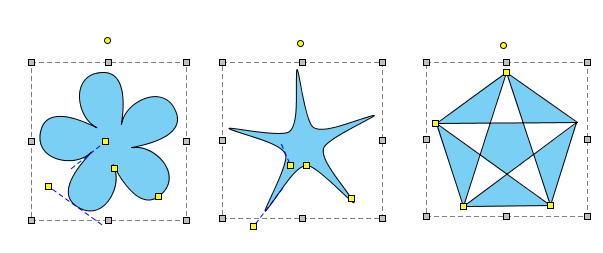
Other regular polygon outline
Drawing isosceles triangle
Click on the diagram to create an isosceles triangle shape.
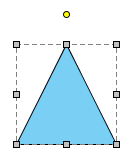 |
| Freehand shape created |
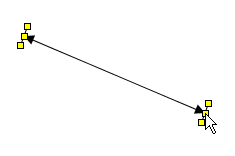
Drawing single head arrow
- Click on the diagram to create an arrow shape.
- You can reshape it by dragging the fine editing selectors in yellow.
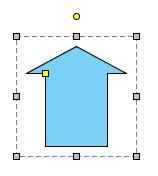
Other Arrow Outline
Drawing two head arrow
- Click on the diagram to create a two head arrow shape.
- You can reshape it by dragging the fine editing selectors in yellow.
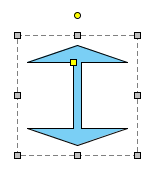
Other two head arrow outline
Drawing spiral
- Click on the diagram to create a spiral shape.
- You can reshape it by dragging the fine editing selectors in yellow.
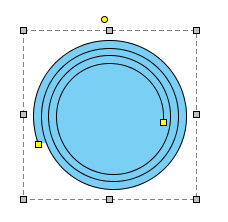
Other Spiral outline
Inserting text
- Click on the diagram to create a text shape, and input the text. You can press Enter to insert line break.
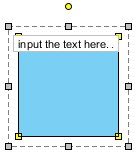
Input the text in text shape - You can click Ctrl while pressing Enter to confirm editing.
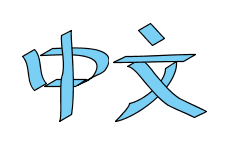
Inserting word art
- Click on the diagram to create a word art shape, and input the text. You can press Enter to insert line break.
- You can click Ctrl while pressing Enter to confirm editor.
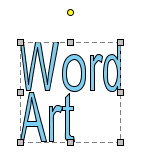
Freehand shape created - You can reshape it by dragging the fine editing selectors in yellow.
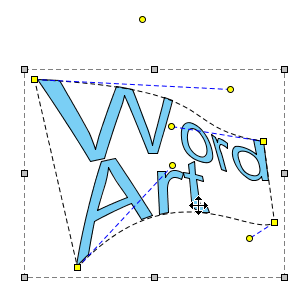
Editing word art
Related Resources
The following resources may help you to learn more about the topic discussed in this page.
| 2. Callout shape | Table of Contents | Chapter 7. Resource Referencing |