Setting up floating license environment
In order to run Visual Paradigm with floating license, you need to install the Visual Paradigm Server (VP Server) program first, and then import the floating license into the server, and finally let Visual Paradigm access the server to acquire license. Both the server program and the key file can be downloaded from your customer account. Download them, and read through this page to setup the server environment. Before you start, make sure you have a machine ready for the installation VP Server. The minimum requirement of such machine is that it must be accessible by client machines through network, either Intranet or Internet.
- Having downloaded the zipped Visual Paradigm Server to the server machine, extract it to the folder where you want the Teamwork Server to install to. When finish, you obtain a folder VPServer.
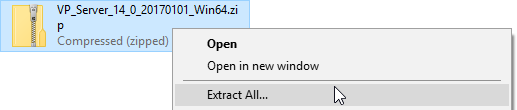
Extracting the zipped VP Server - Start up the server by running VPServer\scripts\startup.bat file (startup.sh for Linux and Mac OS X). You may see a command console appear. Do NOT close it or else the server will be stopped.
- Open your Web browser and visit: http://127.0.0.1:1999/
- The server installation page appears. Enter your organization's name and a new administrator password. Enter the same password again for confirmation.
- Enter the server base URL. Click Next to proceed.
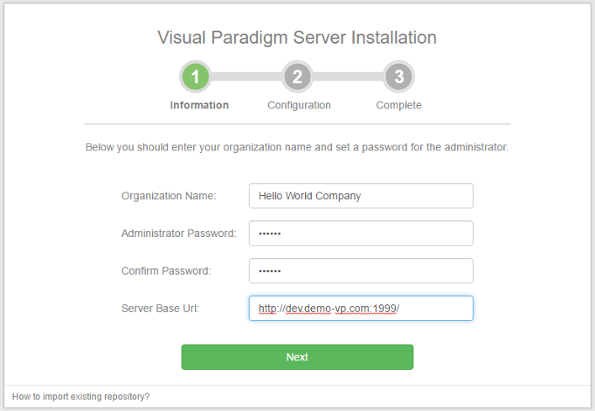
Organization name and password are entered - Check Install License Module and import the floatinglicense.keys file, and then enter the email of the administrator. If you need to install also Teamwork Server, check Install Teamwork Module selected. If not, uncheck it. If you choose to install the Teamwork Module, confirm the repository folder and import the license file.
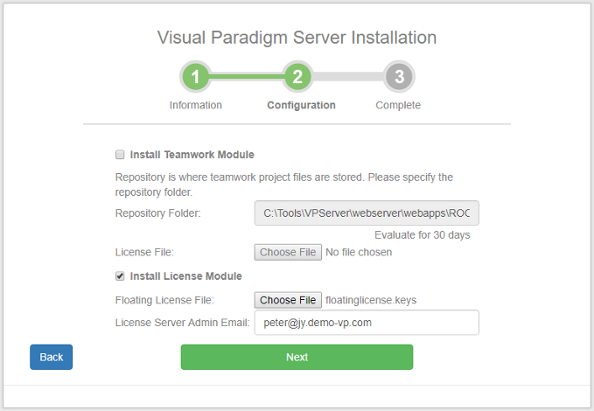
To install license module - Click Next.
- There is data that VP Server need to make persistent, such as your login name, password, server repository path, etc. All these have to be stored in a database. Now, setup a new database for this purpose. Then, fill in the connection information of the database. If you are unable to setup a database for this purpose, select Embedded as the database. The Embedded database is a ready-to-use database management system built into the server. In other words, no additional database setup has to be made by choosing Embedded database.
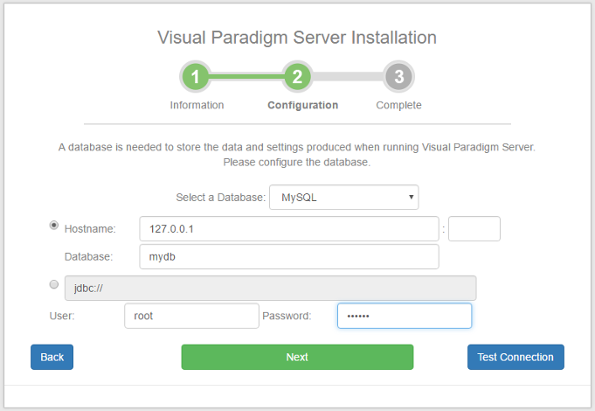
Configuring database - Click Next.
- Wait until the installation is finished. After that, you can click the Go to Login Page button.

Installation complete - Enter the email and password to login. Note that the login ID of the default server administrator is Admin.
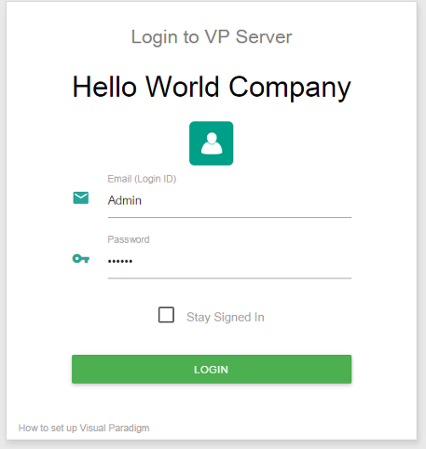
Login VP Server - From now on you can manage the floating license by access the Floating License menu on the left hand side.
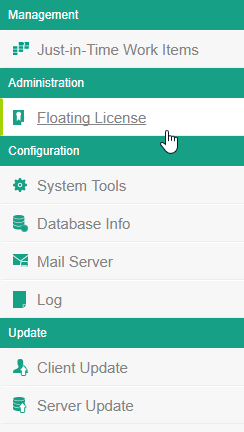
Selecting the Floating License menu
Related Resources
The following resources may help you learn more about the topic discussed in this page.
| 1. System requirements | Table of Contents | Chapter 2. Starting and stopping server |