In order for project works to managed and conducted effectively, you’ll need to structure your work from the largest project goals down to the minute details. Use cases, epics and user stories are precisely the tools you’ll need to do so.
What are use cases, epics and user stories?
Use Cases, also called user activities or themes, are the high level business goals that the end users wish to achieve by using the product to develop. A use case model provides a visualization of the primary stakeholders and use cases involved in the project, which lets you understand the scope of the system as a whole. Epics are discovered based upon the use cases identified.
Epics are high-level functionality or broadly defined requirements. They can be broken down into smaller pieces, called user stories.
User Stories, also called “Stories”, are short and simple statements that document the requirements and desired end-user functionality.
Managing epics
Perform the steps below to identify and manage the epics of your scrum project. You may try the steps interactively by visiting the interactive product tour.
- In the Scrum Process Canvas, click on the work item Manage Epics to open it.
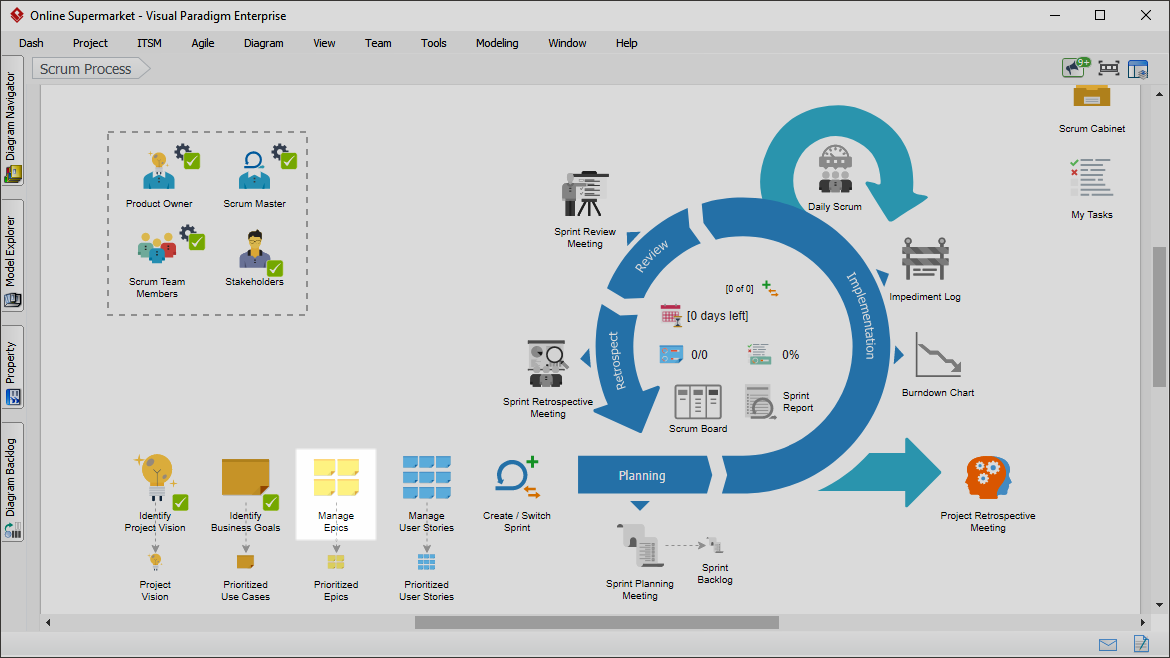
- To perform the step, click on the action artifact User Story Map.

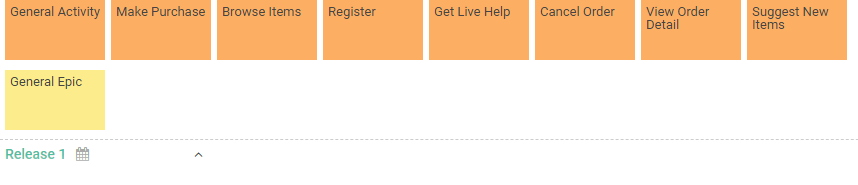
- This opens the User Story Map. A User Story Map shows the mapping between use cases, epics and user stories. You can add and update epics here. The use cases identified in the work item Identify Business Goals are listed at the top of the story map. You need to break them down into epics to document the high-level functionality or requirements are broadly defined. A column of General Activity and General Epic is created for you in documenting functionality that cannot be categorized by use cases. Examples include the need to complete an operation within an allowed time range, or logging.
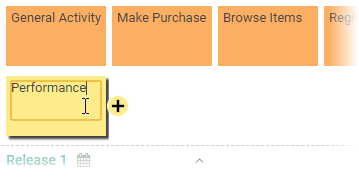
- You may rename General Epic to fit your need. To rename an Epic, click on it and enter a new name.
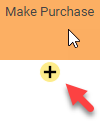
- Break down the use cases into Epics. To do this, select the use case and then click + below the use case to add an Epic.
- Name the Epic.
- Repeatedly create the other Epics.

- When you finish drawing, Go back to the work item page via the breadcrumb.
- This step has one more action artifact – Prioritized Epics. Click to open it.

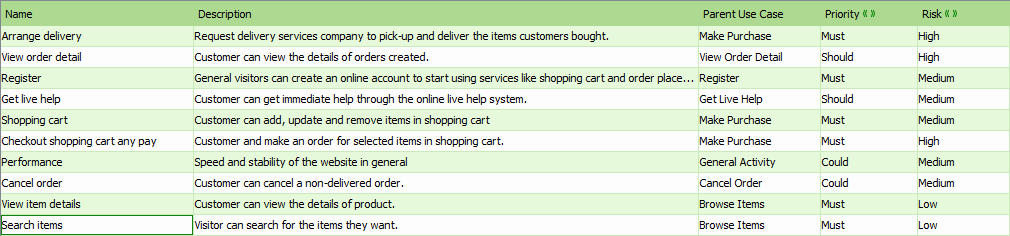
- This shows an ETL Table that lists the Epics you created in the User Story Map. Complete this table by entering the priority and risk of the Epics. To describe an Epic, click on the Description cell of the row of Epic.
- Enter the description in the Description pane.

- Select the priority of Epics. Epics are prioritized to deliver the greatest and most immediate business benefits early. the Instruction pane for details about the choices.
- Select the risk of Epic, which represents the level of uncertainty around the successful completion of an Epic.
- Repeatedly update the other Epics.
- Go back to the work item page via the breadcrumb.
- When you are done, click on Commit at the bottom right corner, and then select Complete from the popup menu.