What is user story?
User stories, also called “Stories”, are short and simple statements that document the requirements and desired end-user functionality. Scrum teams define user stories to manage the backlog of work. This step requires you to build and maintain the product backlog by creating and detailing the user stories of your project up to the point where the stories are ready to be included in a sprint backlog for further development.
Perform the steps below to identify and detail the user stories of your scrum project. You may try the steps interactively by visiting the interactive product tour.
Step 1: Define done criteria
Done criteria are the rules that are used when judging the completion of user stories. Unlike acceptance criteria that are unique for individual user stories, done criteria are applicable to all user stories. As with the acceptance criteria, all conditions of the done criteria must be satisfied for the user story to be considered ‘Done’.
- In the Scrum Process Canvas, click on the work item Manage User Stories to open it.
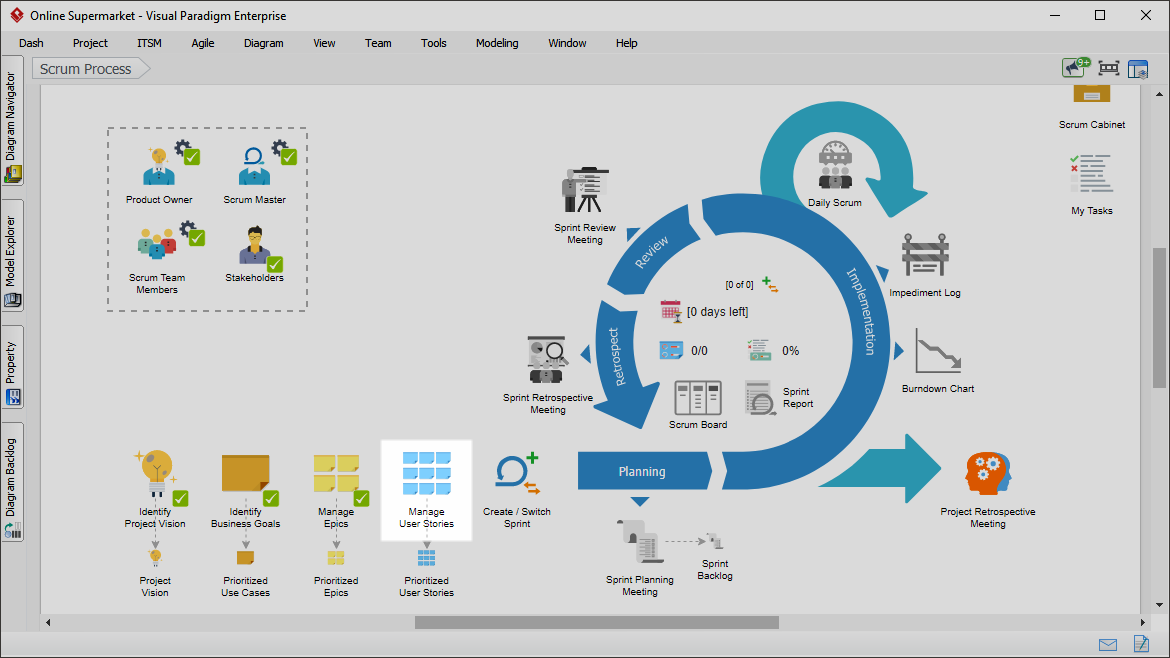
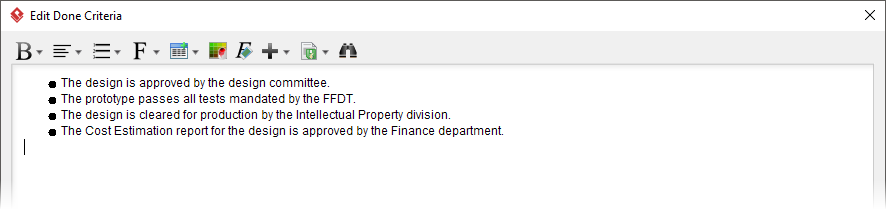
- The first step requires you to define the Done Criteria. To perform the step, click on the action artifact Done Criteria.

- Document the done criteria of this project. Click OK to confirm editing.
- When you are done, you can move on to the next step. To do this, click on Complete Step at the bottom right corner, and then select Complete from the popup menu.
Step 2: Manage product backlog
Defining user stories
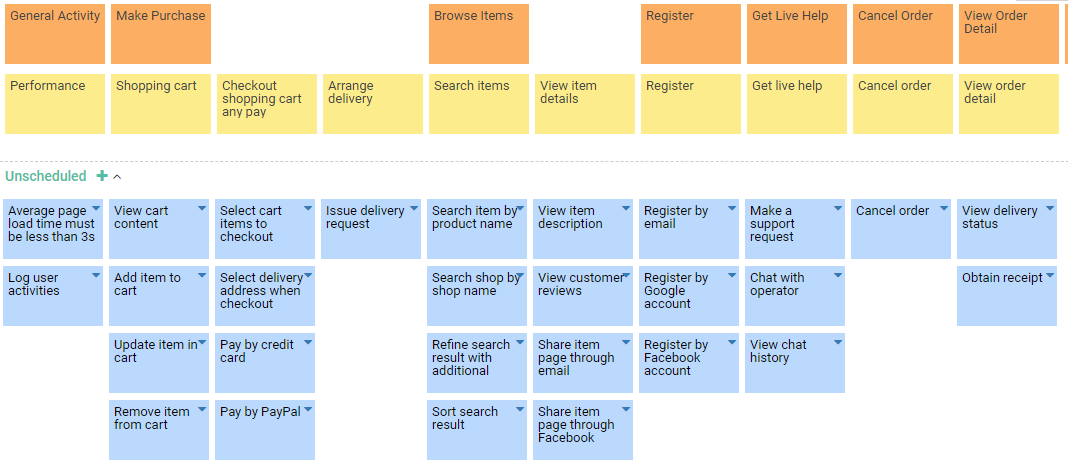
A User Story Map shows the mapping between use cases, epics and User Stories. You can add User Stories here. A set of epics that represent the high-level functionality of project were discovered. Break down the epics into user stories.
- Click on the action artifact User Story Map.

- This opens the User Story Map. Select an Epic.
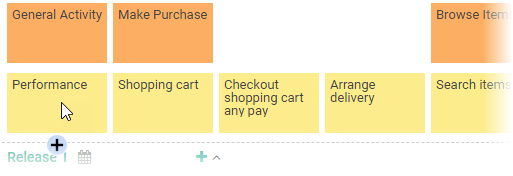
- Click the + button below the use case to add a User Story.
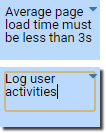
- Enter a short title as the name of User Story.
- Press Enter to create another User Story.
- Name the User Story.
- Repeatedly create the other Stories.
- You may also arrange the User Stories into releases. To do this, drag the User Stories to the corresponding release compartment.
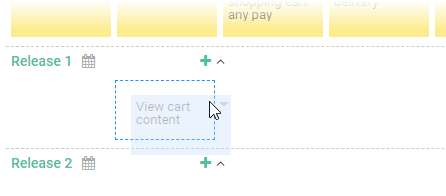
- Drag the other Stories into Release compartments.
- When you finish drawing, Go back to the work item page via the breadcrumb.
- This step has one more action artifact – Prioritized User Stories. Click to open it.
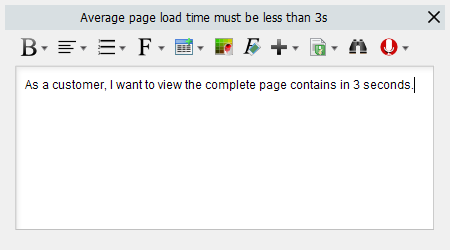
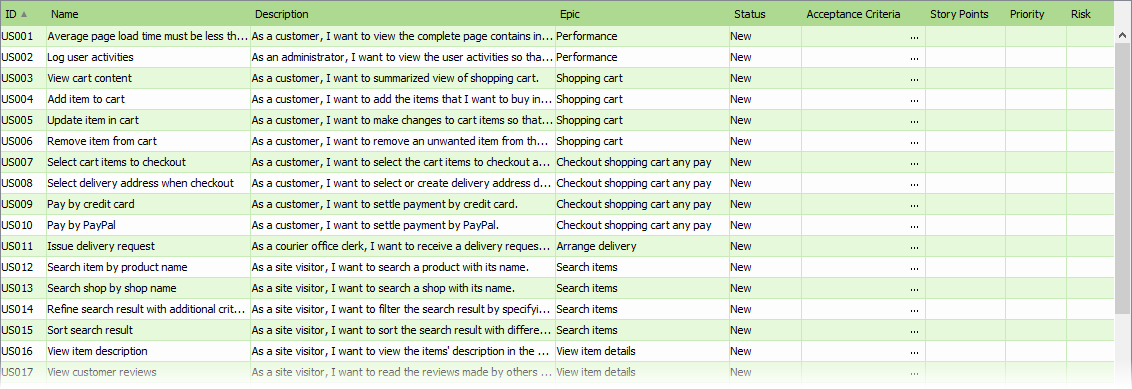
- This shows an ETL Table that lists the User Stories you created in the User Story Map. To describe a User Story, click on the Description cell of the row of Story.

- Enter the description in the in the Description pane. Typically, user stories are described in this format: As a ‘role’, I want ‘goal/requirement’ so that ‘reason/benefit’.
- Enter the description for the other Stories.
Detailing user stories
User Stories are reviewed by the product owner from time to time. User Stories that are agreed to implement will be sufficiently detailed. Let’s take a look at how Story can be detailed.
- Let’s start by defining the acceptance criteria. Click to select the User Story first.
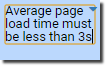
- Acceptance criteria define the ‘Definition of Done‘ for a user story. It provides clarity to the team on what is expected of a user story, remove ambiguity from requirements, and help in aligning expectations. Click on the … button to edit its acceptance criteria.

- Define the other acceptance criteria. Press Enter to create a new item.
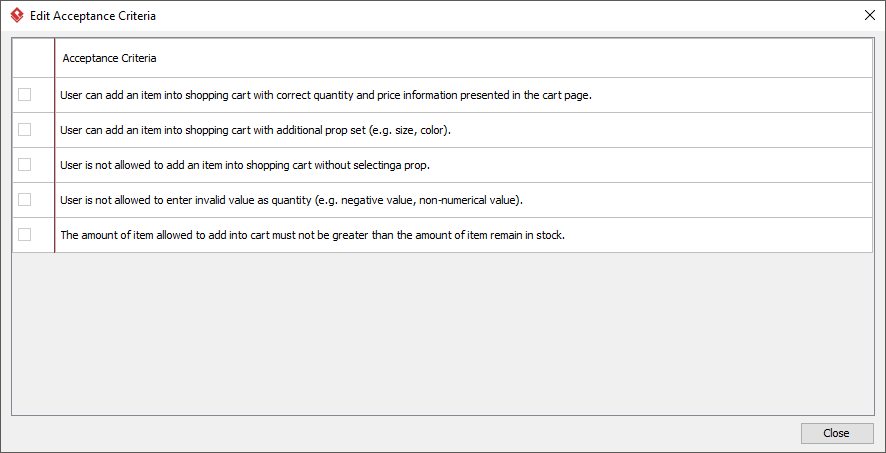
- When finished, click Close.
- Define acceptance criteria for other User Stories reviewed.
- Let’s enter the story points for reviewed User Stories. Story point is a number that represents an estimation of the overall size and complexity a User Story. Double click on a cell and enter the story point.

- Select the priority of User Stories. User stories are prioritized to deliver the greatest and most immediate business benefits early.
- Select the risk of User Stories, which represents level of uncertainty around the successful completion the User Stories.
- Set the due date of User Story. Double click on the cell of Due Date and select the date from the popup date selector.
- Click OK to confirm.
Approving user stories
User Stories are set to Approved state when it’s being reviewed and agreed to implement. Such a Story is sufficiently detailed and is a candidate to be assigned to a sprint at the sprint planning meeting. Note that only User Stories that are in Approved state will be available for selection when creating sprint backlog.
- Change the status of approved user stories to Approved.

- Go back to the work item page via the breadcrumb.
As said before, requirements will keep appearing and changing throughout the project. Instead of completing a step, you should commit changes only. Unlike completing a step, by committing changes, changes will be forwarded to the other part of the process, while keeping you on the same step.