Recording confirmation items in user story
Discussions are made between project team and stakeholders in confirming requirements. During the discussions, you can write down in the Confirmation tab of the user stories the cases that need to be tested. Strictly speaking, a user story can only be confirmed until all of its confirmation items are fulfilled.
Recording confirmation items
- Locate the user story first. Here are some of the typical ways to locate a story.
- If you own the URL of a user story, open the URL by selecting Diagram > Link from the toolbar. Paste the URL in breadcrumb in press Enter.
- To locate a user story in a particular use case, open the use case by selecting UeXceler > Use Case first. Find the story under the User Stories tab on the right hand side.
- To locate a user story in a sprint, open the sprint from the UeXceler > Sprint page and find the story there.
- You can also find a user story in the UeXceler > User Story page. Note that if your story was added into a sprint, you have to enable the In Sprint option in the Advanced Filter.
- Open the story by double clicking on it.
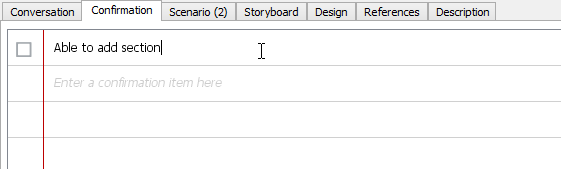
- Open the Confirmation tab.

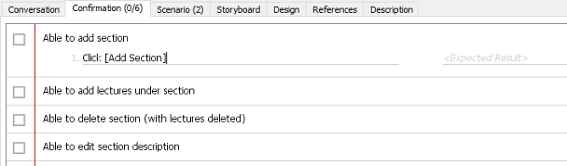
Opening the Confirmation tab - Click on a row and start typing the confirmation item.
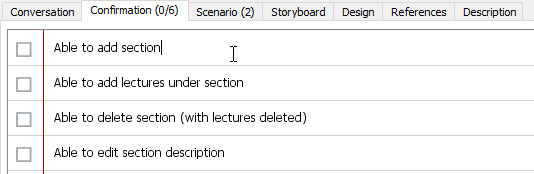
Entering confirmation item - Press Enter to continue to the next item.
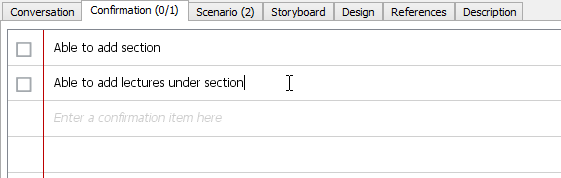
Entering confirmation item
Adding steps and expected results
For each confirmation item, you can enter the steps to perform in testing the item, as well as the result expected. Doing so allows the user to recall how an item can be tested, and to provide him/her with the steps to follow
To add steps for a confirmation item:
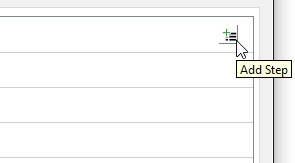
- Move your mouse pointer over the first confirmation item to reveal the Add Step button.
Mosue pointer over a confirmation item - Click on the Add Step button on the right hand side of the step.
Adding a step - Enter the first step.
Entering step text - You can now press the Enter key to enter the second step, or to press Tab to proceed to entering the expected result of this step.

A step entered - Repeatedly enter all steps. Note that formatting properties can be applied to step and expected result text.

Steps entered
Marking an item confirmed
Confirmation items should be tested in confirming the completion of user story. Once the functionalities suggested under a user story is supported, test the confirmation items. For items that are confirmed to be supported, mark them confirmed by clicking on the checkboxes next to the items.
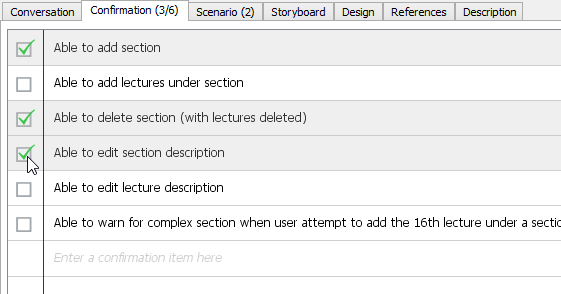 |
| Checking confirmation items |
Related Resources
The following resources may help you to learn more about the topic discussed in this page.
| 9. Recording conversation items in user story | Table of Contents | 11. Using user story scenario |