How to Organize Files with Documentation Cabinet?
Software development involves large volumes of complex and inter-dependent information. Effective storage of targeted information is a critical success factor for software development. The use of Documentation Cabinet allows for all project-related documents to be managed in a document repository, in an organized manner.
Documentation Cabinet is simply a drawers of files. You can build your own cabinet with the drawers you want, and to establish relationships between them. To add files into drawers is simple, simply drag and drop files from external source into drawers. The files stored in drawers can be used for further referencing and achieving.
Creating a Documentation Cabinet (Diagram)
- Select Diagram > New from the application toolbar.
- In the New Diagram window, select Documentation Cabinet.
- Click Next.
- Enter the name and description. The Location field enables you to select a model to store the diagram.
- Click OK.
Creating a Cabinet
- Select
 from the diagram toolbar.
 - Click on the diagram area to create it. If you want to draw the cabinet in specific size, instead of clicking press on the diagram and drag to create the cabinet in the size you want. Release the mouse button for creation.
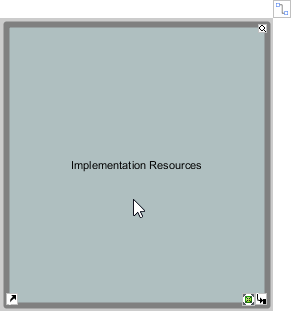
- Enter its name.
- Press Enter to confirm the name.

Cabinet created
| NOTE: | A cabinet can contain other cabinets. |
Creating a Drawer
- Select
 from the diagram toolbar.
 - Click inside the target cabinet to create it. Note that a drawer must be placed inside a cabinet (You cannot place it on the diagram directly).
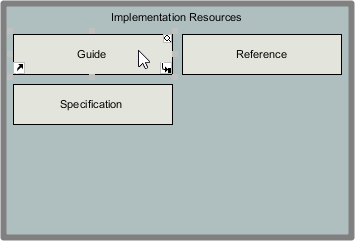
To create a drawer inside the cabinet Implementation Resources
You can see that the name of the cabinet will be moved top center once the drawer is placed in it. - Enter the name of the draw.
- Press Enter to confirm the name.
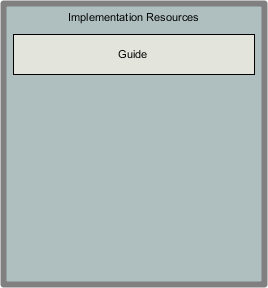
Drawer created
Layout of drawers
There are two layout options for drawers - List and Wrap. The List option, which is the default option, lists drawers vertically along the cabinet, while the Wrap option lists drawers horizontally along the cabinet.
Here is how the list option looks like:
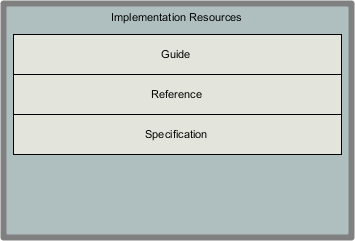 |
| List layout |
Here is how the wrap option looks like:
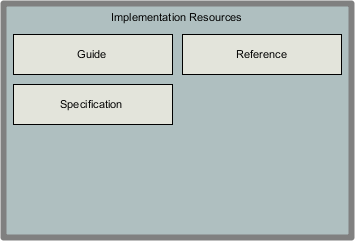 |
| Wrap layout |
To change the layout of drawers, right click on the cabinet and select Presentation Options > Drawer Layout > List/Wrap from the popup menu.
Managing files in a drawer
To manage files in drawer, double click on a drawer to enter the management screen.
 |
| Double clicking on a drawer |
The management screen lists the files in the drawer. You can click the Add Files button at the top of the screen to add referencs to external files. Or select an added file and click Remove to remove it from the drawer. Note that a removal will only remove the linkage with the file. It won't delete the underlying file. Finally you can enter a search string to filter the document files to list in the drawer.
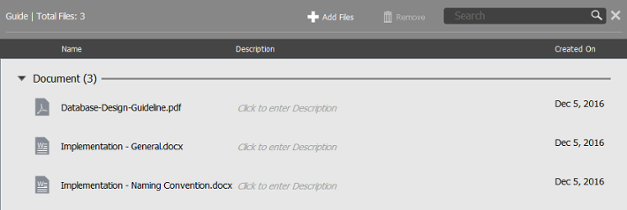 |
| The file management screen |
Adding files by drag-and-drop
You can add flies into a draw through the management screen, or through dragging and dropping files from system into the drawer. You can drag and drop files into a drawer shape.
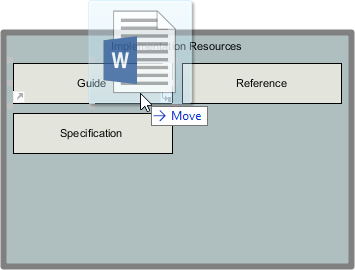 |
| Drag file into a drawer |
Or drop directly into the management screen.
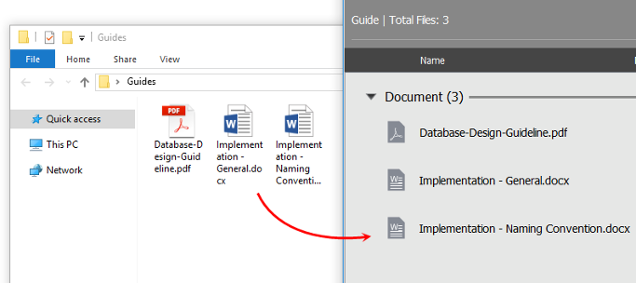 |
| Drag files onto management screen |
Linking cabinets
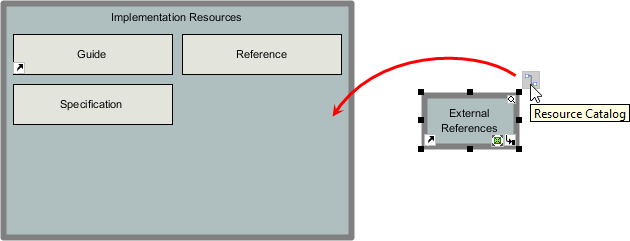
Cabinets can be connected with links, to indicate their logical relationship. To relate cabinets is like how you relate other shapes through the use of Resource Catalog. Move your mouse pointer to the source cabinet. Press on the Resource Catalog icon and drag to the target cabinet.
 |
| Relating cabinets |
Release the mouse button. You can optionally enter a name for the connector.
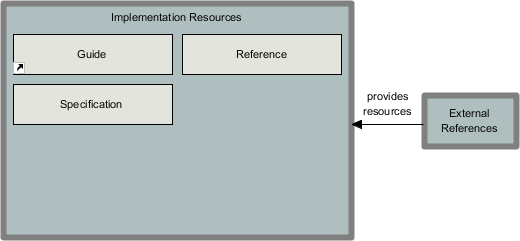 |
| Two cabinets linked with each other |
Related Resources
The following resources may help you to learn more about the topic discussed in this page.
- New to Visual Paradigm? We have a lot of UML tutorials written to help you get started with Visual Paradigm
- Visual Paradigm on YouTube
- Visual Paradigm Know-How - Tips and tricks, Q&A, solutions to users' problems
- Contact us if you need any help or have any suggestion
| Chapter 4. Documentation Cabinet | Table of Contents | Part VI. Modeling toolset |