How to Draw CRC Card Diagram?
Class-Responsibility Collaborator (CRC) card visualize classes in card-like presentation. Each CRC card contains information like the description of class, its attributes and responsibility. A CRC card diagram is a holder of these cards.
Creating CRC card diagram
- Select Diagram > New from the application toolbar.
- In the New Diagram window, select CRC Card Diagram.
- Click Next.
- Enter the diagram name and description. The Location field enables you to select a model to store the diagram.
- Click OK.
Creating CRC card
Click CRC Card on the diagram toolbar and then click on the diagram to create a CRC card. You can create as many as CRC card on a diagram by repeating this step.
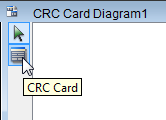 |
| Create CRC card |
Editing CRC card properties
All properties in a CRC card must be edited inline. To edit, double click on the desired field, update its value, and click on the diagram background to confirm editing.
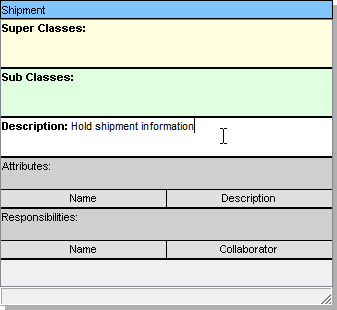 |
| Edit description |
Adding attributes
Right-click on the Attributes heading and select Add > Attribute from the pop-up menu.
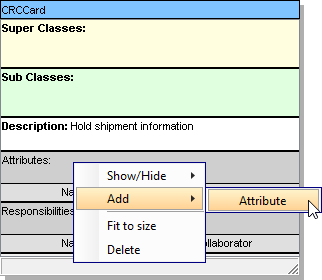 |
| Add attribute |
Enter the name and description. Repeat this step until all attributes are added.
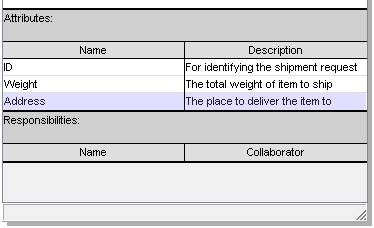 |
| Attribute added |
Adding responsibilities
Right-click on the Responsibilities heading and select Add > Responsibility from the pop-up menu. Similar to creating an attribute, enter the name and collaborator of each responsibility to show the relationship with other parties.
 |
| Add responsibility |
Related Resources
The following resources may help you to learn more about the topic discussed in this page.
| Chapter 16. CRC card diagram | Table of Contents | Part III. Project glossary |