Managing groups
A group is a named category of members in teamwork server. It groups members who share the same characteristic and let them share the same project permission.
Adding group
- Open a web browser.
- Visit and login VP Server.
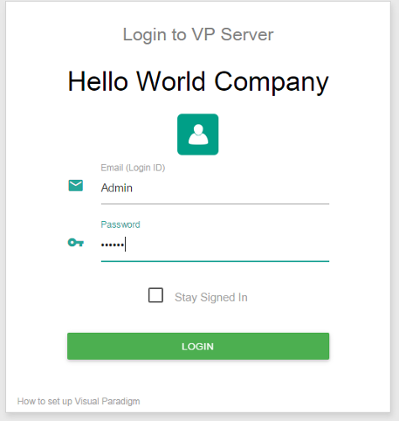
Logging into VP Server as administrator - At the top right, click on your profile logo image and select Admin Repository from the drop down menu.
- Select Members from the menu on the left hand side.
- Under the Group tab, click on New Group.
- Enter the name of group.

Entering group name - Select members to add into the group. Click Add Members and then press + on the members to add into the group. Click Close when ready.
- You may optionally assign the group to project(s). Open the Projects tab. Click Add Project and press + on the project(s) for assignments. Click Close.
- Decide whether the members in group can read and/or commit changes made in the project. Read access enables opening the project from server and reading its content. Commit enables uploading project changes from client to server. This step is optional and you can assign member to project in project management page later on.
- Click Save.
Related Resources
The following resources may help you learn more about the topic discussed in this page.
| 5. Setting up Visual Paradigm Teamwork Server with Microsoft Azure | Table of Contents | 7. Managing groups (LDAP) |