The Cause & Effect, or fishbone diagram, was first used by Dr. Kaoru Ishikawa of the University of Tokyo in 1943. This diagram is used to identify all of the contributing root causes likely to be causing a problem. This methodology can be used on any type of problem, and can be tailored by the user to fit the circumstances.
Steps to create a Cause and Effect Diagram
The steps below outline the major steps to take in creating a Cause and Effect Diagram.
- Write the effect in a box on the right-hand side of the page.
- Draw a horizontal line to the left of the effect.
- Decide on the categories of causes for the effect. Useful categories of causes in a classic fishbone diagram include Materials, Methods, Equipment, Environment, and People.
- Another way to think of categories is in terms of causes at each major step in the process.
- Draw diagonal lines above and below the horizontal line (these are the “fishbones”), and label with the categories you have chosen.
- Generate a list of causes for each category.
- List the causes on each fishbone, drawing branch bones to show relationships among the causes.
- Develop the causes by asking “Why?” until you have reached a useful level of detail—that is, when the cause is specific enough to be able to test a change and measure its effects.
Creating a Cause and Effect Diagram
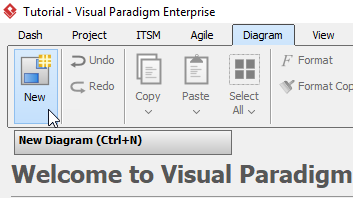
- Click Diagram > New from the toolbar.
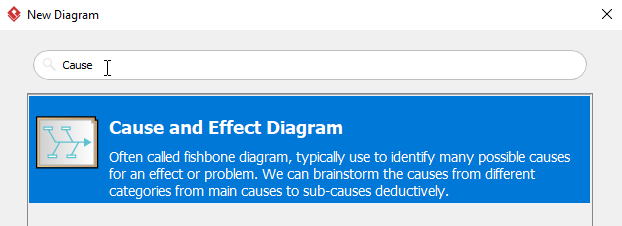
- In the New Diagram window, select Cause and Effect Diagram, then click next. You can use the search bar search the diagram.
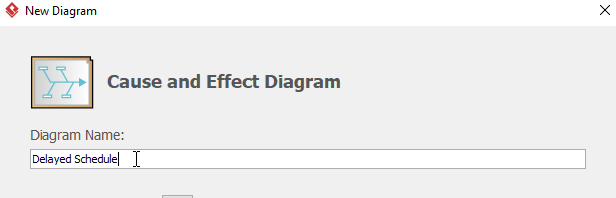
- Give the diagram a name (for example: Delayed Schedule), then click OK to finish creating the diagram.
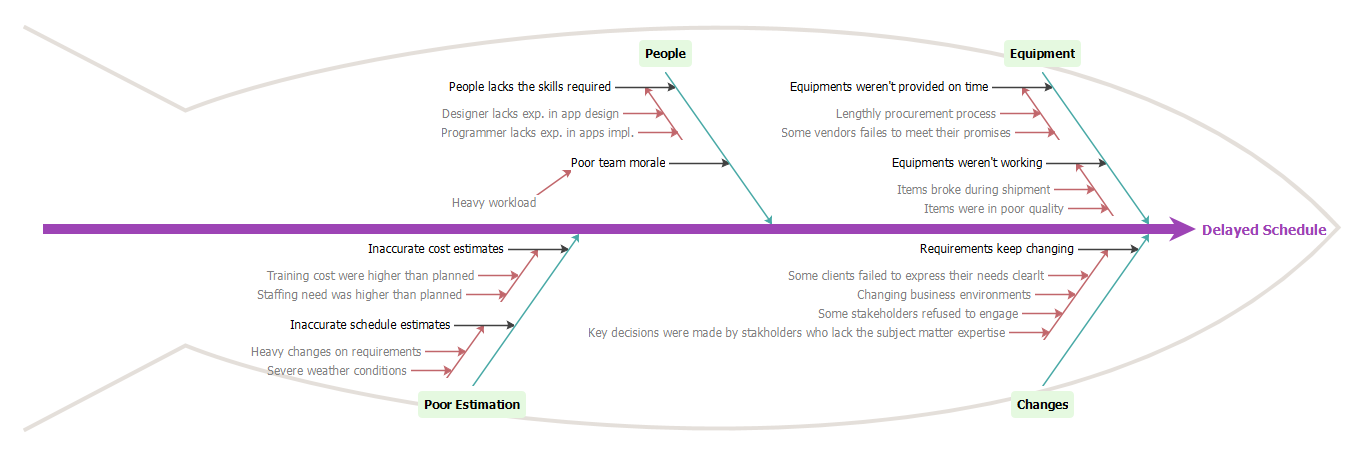
- You will then see a diagram like this:

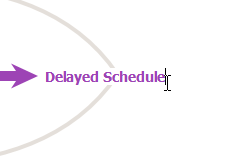
- Double click problem on the right hand side of the diagram and rename it (for example: Delayed Schedule).
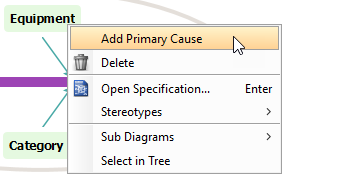
- Double click Category1 to rename the category to Equipment.
- Right click Equipment and select Add Primary Cause from the toolbar to create a new primary cause.
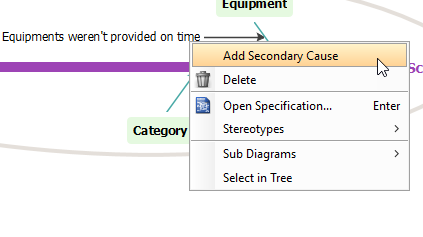
- Double click Cause and rename it to Equipments weren't provided on time, then create a secondary cause by right clicking Equipments weren't provided on time and select Add Secondary Cause.
- Rename the secondary cause Cause by double clicking it.
- Repeat step 5 to 8 above to create more primary and secondary causes.
- You will see something like this when you finish your diagram: