The UML timing diagrams focus on the specific timing in which the messages are sent from one object to another and on the specific timing in which objects change their state. Timing diagrams are common when dealing with real time systems.
Steps to develop a Timing Diagram
The steps below outline the major steps to take in creating a UML Timing Diagram.
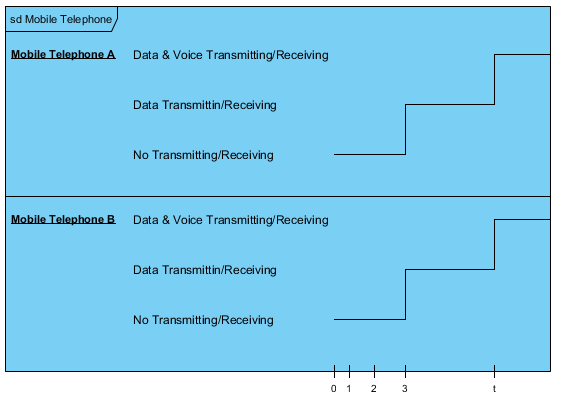
- Stack several life lines of different objects in the same timing diagram.
- Put one life line with a number of possible states above the other vertically, and the passage of time (say in seconds) horizontally.
- Each object has a set of possible states. The state will be changed over time indicated by the timeline.
- Model the messages sent from one object to another can be depicted using simple arrows.
- Remind that the start and the end points of each arrow indicate when each message was sent and when it was received.
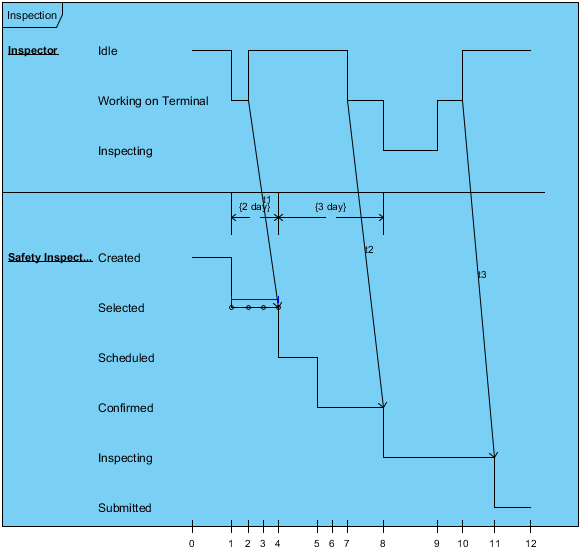
Timing Diagram at a glance
Developing a Timing Diagram
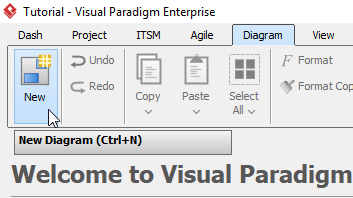
- Click Diagram > New from the toolbar.
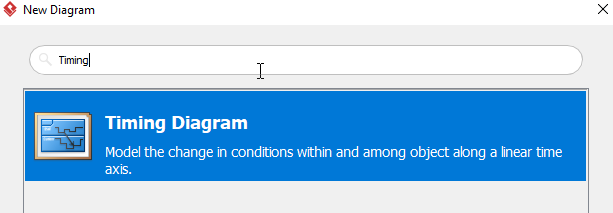
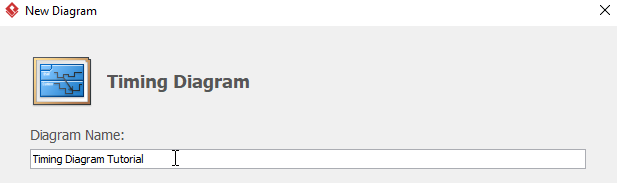
- In the New Diagram window, choose Timing Diagram, then Click Next. You can use the search bar to find the diagram.
- Name the diagram then click OK. We will name the diagram Select Timing Diagram in this tutorial.
- You will then see an empty diagram
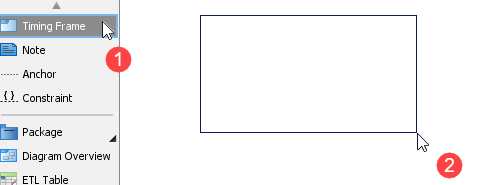
- Select Timing Frame, then click or drag on the diagram to create a timing frame.
- Double click the word Frame on the timing frame to rename the frame.
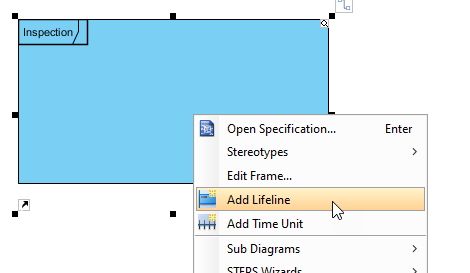
- Right click the frame and select Add Lifeline to create a lifeline.
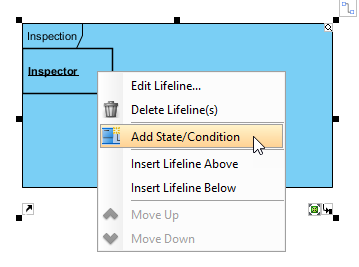
- Double click Lifeline and rename the lifeline to Inspector. Right click Inspector and select Add State/ Condition to create a new state or condition.
- Double click State/Condition and rename the state or condition. In this tutorial, we will be renaming this state to Idle.
- Repeat step 7 to 9 for creating more lifelines and state or conditions.
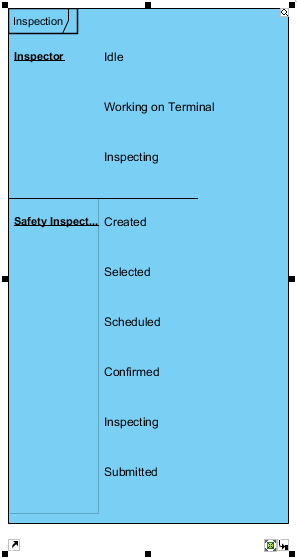
- You should see a diagram like this after adding lifelines and states:
- Right click on any empty space in the timing frame, and click Add Time Unit. We will then see a tiny vertical line (the time unit) appear at the bottom of the frame.
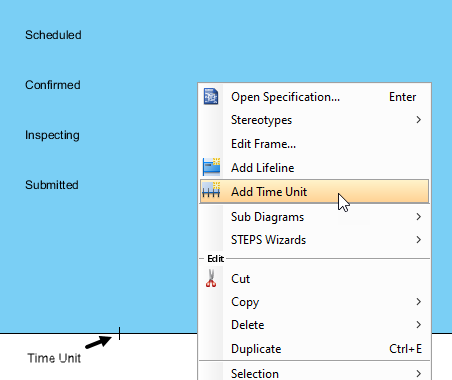
- Double click the time unit to add a caption.
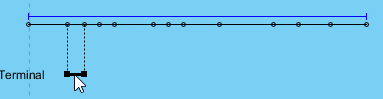
- Repeat step 12 and 13 for more time units. Except the leftmost time unit, you can drag and relocate all time units. When you are adding more time units, you can see a line appears on every lifeline.
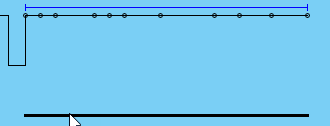
- When you move your cursor near the line mentioned on step 13, you will see the line being separated by dots and a blue line above.

- You can either move the a single segment to different state/condition by click-dragging the separated line...
Or move the connected lines on the same stage/condition by click-dragging the blue line.
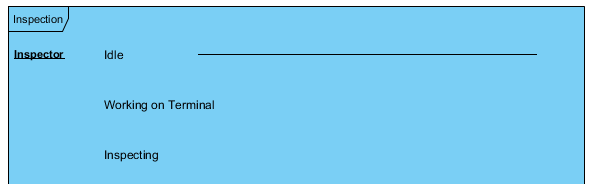
- You can get something like this after moving the lines:
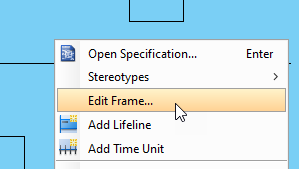
- Right click on any empty space in the time frame, then click Edit Frame.
- In the Edit Frame window, click Time Mesages > Add.
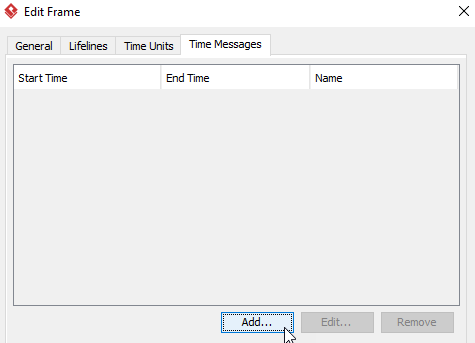
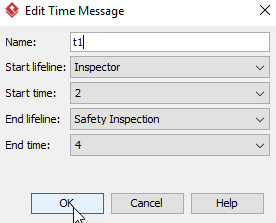
- In the Add Time Message window, name the time message, and set up the desire Start/End lifeline and time.
- Repeat step 19 and 20 for more time messages
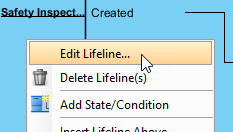
- Right click the Safety Inspector lifeline, then select Edit Lifeline.
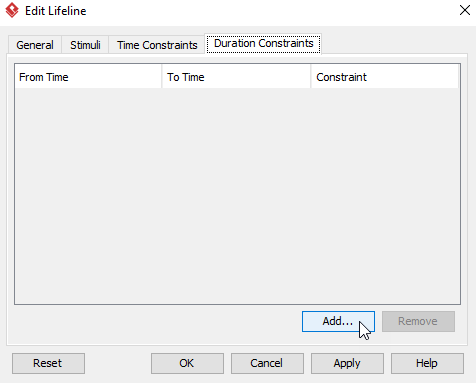
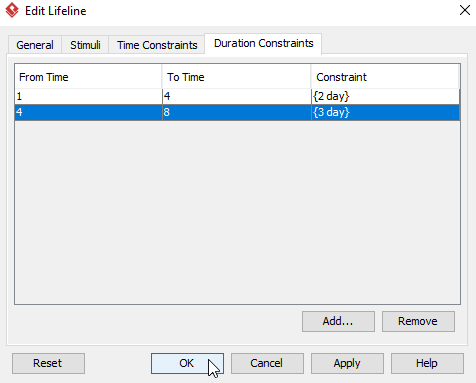
- In the Edit Lifeline window, select Duration Constraints > Add.
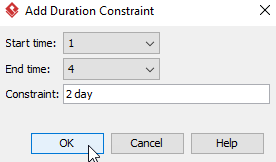
- In the Add Duration Constraint, select the Start/End time and set up the duration of the constraint, then click OK.
- Repeat step 23 and 24 for more duration constraints.
- After adding duration constraints, click OK on the Edit Lifeline window.
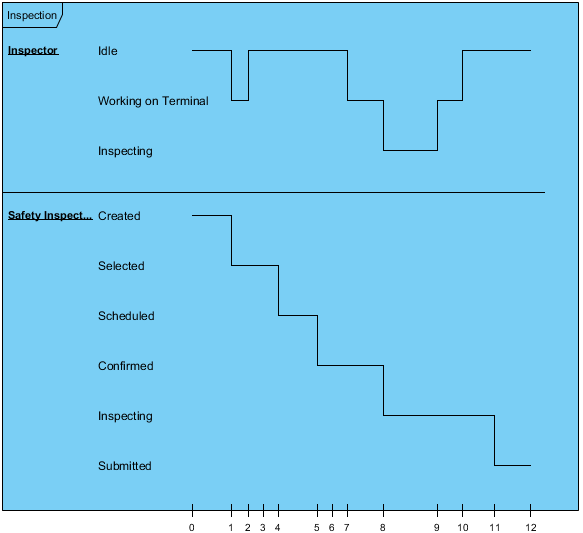
- You should get something similar when you are finishing the diagram: