Perform the steps below to develop a release plan for your scrum project. You may try the steps interactively by visiting the interactive product tour.
Step 1: Define the project deliverables
A deliverable is a tangible or intangible good or service to be produced during the course of a project. You are required to define the deliverables to be produced in this project.
- In the Scrum Process Canvas, click on the work item Release Planning to open it.
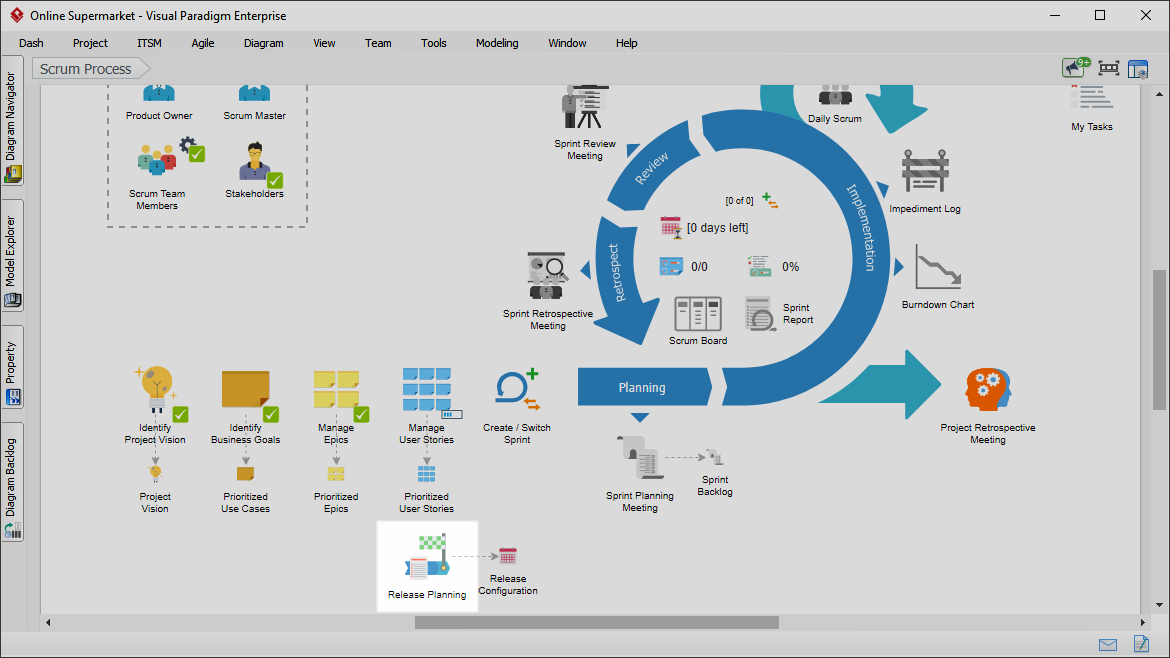
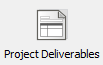
- To perform the step, click on the action artifact Project Deliverable.
- Define the deliverable. For each deliverable, enter its name and provide a brief description of the deliverable, such as its requirements. State the planned release date of the deliverable, the level of importance of the deliverable, the state of deliverable completion and the team member who manages the complete creation of the deliverable. You can press Enter to create a new item.

- When finished, go back to the work item page via the breadcrumb.
- Move on to the next step. To do this, click on Complete Step at the bottom right corner, and then select Complete from the popup menu.
Step 2: Perform release and sprint configuration
You are now in step 2. In this step, you will develop a release plan. The plan enables the scrum team to have an overview of the releases and delivery schedule for the product they are developing.
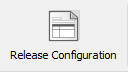
- Click on the action artifact Release Configuration.
- List the releases of this project (Hotkey: Enter). For each release, give it a short title, a description of the target of the release or the things planned to deliver, and the planned date of product release.

- Go back to the work item page via the breadcrumb.
- Move on to the next step. Again, click on Complete Step at the bottom right corner, and then select Complete from the popup menu.
Step 3: Arrange user stories into releases
You are now in step 3, which requires you to arrange the user stories in the project based on the releases in which they will be delivered.
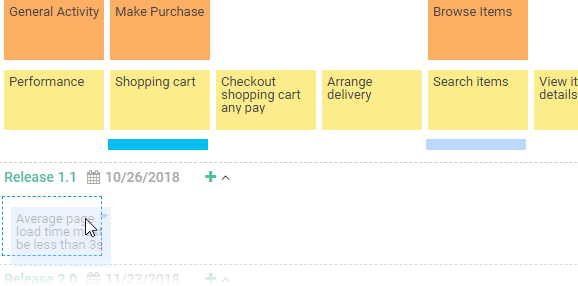
- Click on the action artifact User Story Map.

- This shows the User Story Map. Drag to move the User Stories to the target release compartment(s).
- When finished, go back to the work item page via the breadcrumb.
- New User Stories will be defined throughout the project. Instead of completing a step, you should keep this step active by committing changes only. Click on Commit Step at the bottom right and select Commit Changes Only from the popup menu.