Breaking down a task into stages
Software development is a team work. In most cases, a piece of work is done not by a single person but by a number of team members who possess different skills such as graphics design, system analysis, project management, programming, testing, database administration, etc. In Tasifier, when you want to manage a development activity that involves the participation of multiple team members, you can create a task with multiple 'stages'.
A stage is a turn of work within a task. Each stage represents a unique piece of work to be done by a specific team member. When all stages are completed, the task is done. Let's say for example you want to create a task for supporting a system login function, you might create a task with three stages: (1) Design login page, (2) Implement login page, (3) Test login page. Of course this is just an example. In practice, any stage can be created as an independent task. It's all about your team's preferences. Usually, if a piece of work is complex, or will involve a lot of communications, it will be created as an independent task, instead of a stage. A stage is, usually a relatively smaller piece of work.
Creating task with stages
To create task that has multiple stages:
- Create a task and give it a subject first. Here we assume that you are clear about how to create tasks (including subtasks). If not, click here for details about task creation or click here for details about subtasks.
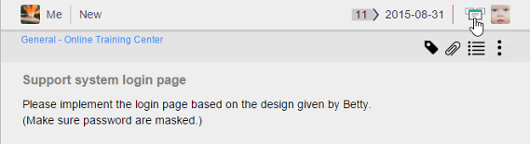
- If you decided to finish this task with multiple stages, it's time to enter the description of the first stage, which is likely the requirements of the first stage or information that assists a team member to execute the work. Click below the subject of task to enter the edit mode of description.
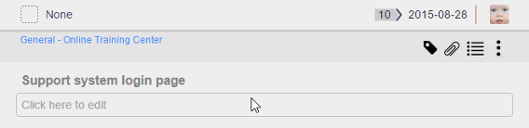
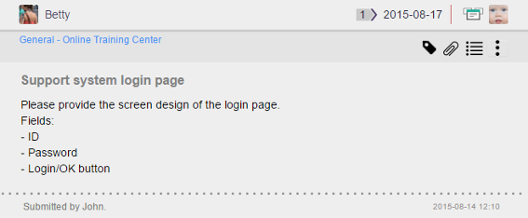
To enter stage description - Enter the description. Note that you are entering the description of the first stage, not the description of the entire task. Tasks with stages do not have their own description. You will learn how to add stages in coming steps. Once a stage is added, the description you entered now will become the description of the first stage.
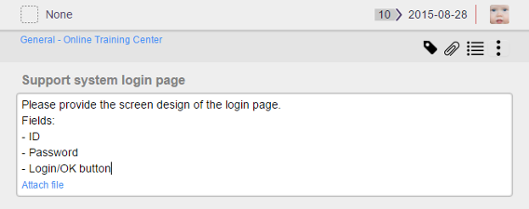
Stage description entered - Set the assignee at the top left of the Task Pane. Again, the assignee set here is the assignee of the first stage, not the assignee of the entire task.
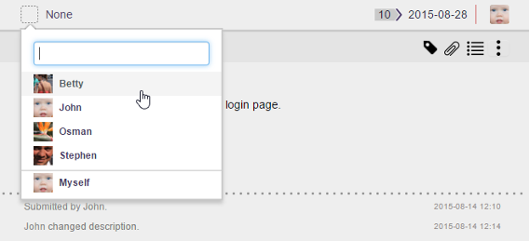
Setting assignee - You may optionally change the Due Date at the top right corner in the Task Pane. Similar to stage description and assignee, the due date set here is the due date of the first stage, not the due date of the entire task.
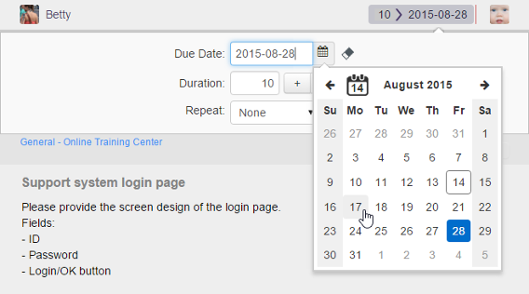
Pick up a due date - Next to Due Date, you may set a team member to verify the whole task when all stages are completed . When all stages are completed, that member will see the task listed in his/her My Tasks page, pending for his verification. If you do not specify a team member here, once you complete the task it will be closed immediately.
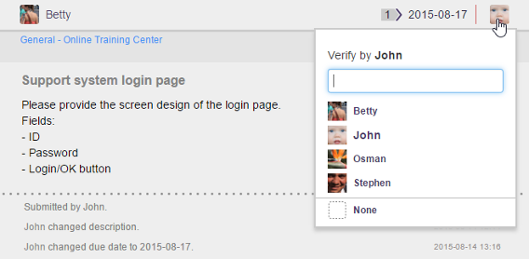
Select a team member to verify the task - On top of the task subject, click on the More button on the right hand side.
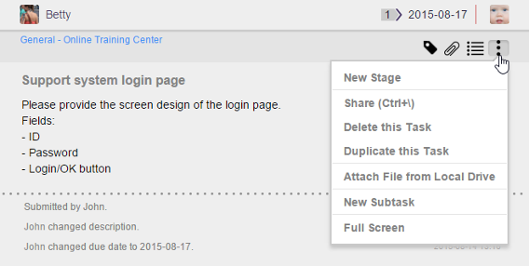
Clicking on the More button - Select New Stage from the drop down menu.
- Now, you can enter and set the description, subject, assignee and due date of the second stage. Assignee can be set by clicking on the empty box next to the subject of stage.
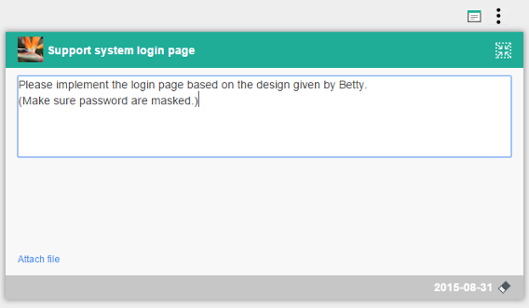
Editing stage description - To create the next stage, click on Stage View on the right hand side of the stage subject.
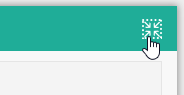
Opening Stage View - Click on the + button in the box of Next Stage.
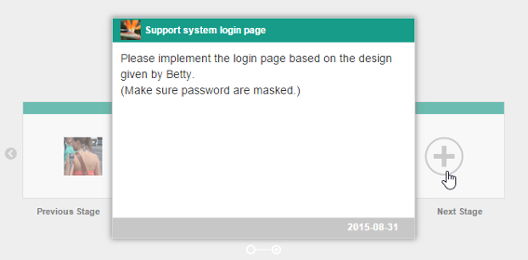
Creating a stage - You can then edit the details of the stage.
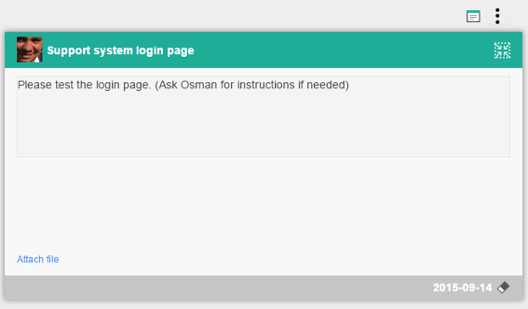
Editing stage - Repeatedly create all stages. When finished, click Back.

Back to the task
The task will be assigned to the assignee set to the first stage. He/she can start working on the first stage.
Stages created
Effect of completing a stage
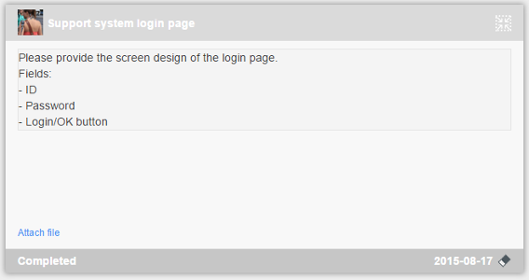
When you have finished your work required in a stage, click on the Complete Stage button at the bottom right of the Task Pane. This will activate the next stage, and the stage you just completed will become inactive. The task will be assigned to the team member set to the assignee of the next stage. He/she can start working on it.
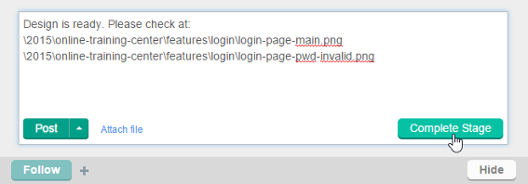 |
| Completing a stage |
The completion of all stages will trigger the completion of the entire task. Same as a general task being marked completed, the team member who was set to verify the task will see the task listed in his/her My Tasks page, pending for his verification.
Browsing stages
You may want to view the details of one of stages of a task. If that's not the active stage, you can browse for it by taking the steps below.
- Open the task.
- Click on the Stage View button at the top of the task. Note that this button only appear when the task contain stages.
Opening Stage View - Click Previous Stage or Next Stages to navigate to the task you want to view.
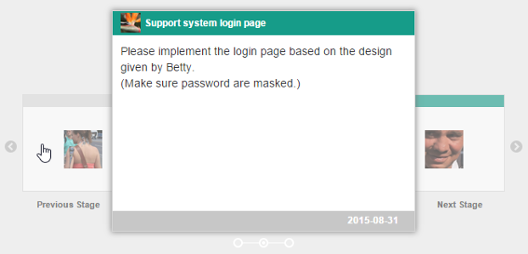
Navigating to the previous stage - Click on the stage to open it.
Viewing previous stage's details
Restarting a stage
If a completed stage was not perfectly done and a rework is needed, you can restart it to let the assignee of that stage work again on that stage. To restart a completed stage, browse for it first (read the previous seciton for steps). Then, click on the More button and select Restart Stage from the drop-down menu.
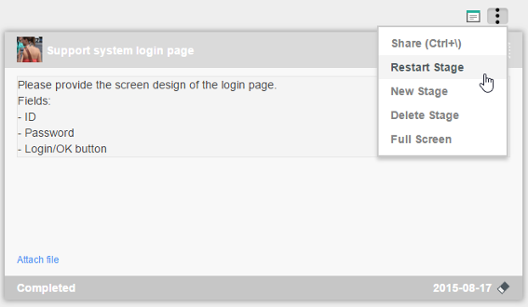 |
| Restarting a stage |
Re-ordering stages
You can also re-order stages in case their placesment are wrong. To move a stage, browse for it first (read the previous seciton for steps). Then, click on the More button and select Move Before/Move After from the drop-down menu.
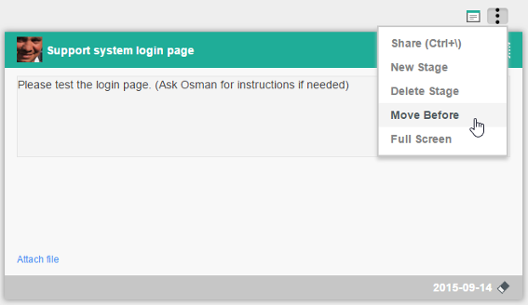 |
| Moving a stage |
Related Resources
The following resources may help you learn more about the topic discussed in this page.
| 11. Viewing other member's tasks | Table of Contents | Chapter 6. My Tasks |