Altering the nullable of column from ERD
A nullable column in a database table allows for no value to be assigned during record insertion or update, while a non-nullable column mandates a value.
Visual Paradigm offers a convenient method to alter the nullable property of columns and directly update your database schema. This tutorial will guide you through modifying the nullable property of a column within an Entity Relationship Diagram (ERD) and updating your database schema using the 'Update Database' feature.
Please note: This tutorial assumes a foundational understanding of ERD-based database modeling and database engineering principles.
Setting up your database
MySQL will serve as the database software throughout this tutorial. You can, however, utilize any other database products supported by Visual Paradigm. Once familiar with your chosen database software, you will find this tutorial straightforward to complete.
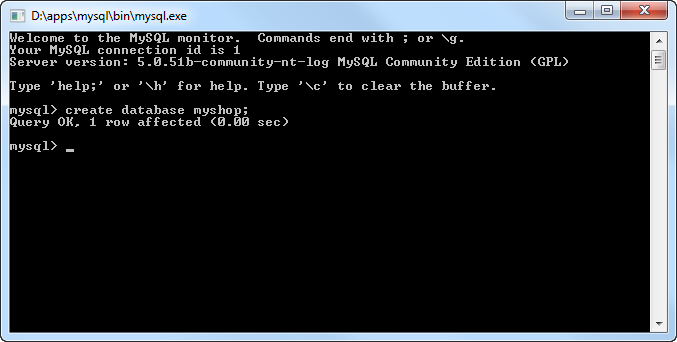
Before you start, create a database. Name it myshop.
Configuring your database
- Create a project with Visual Paradigm. Select Tools > Database > Database Configuration... from the main menu.
- In the Database Configuration dialog box, select your database software from the list. For this tutorial, ensure MySQL is selected.

-
In the Database Setting panel, click the downward arrow button next to the Driver file field.

If your database provider does not support direct driver download, the pop-up Download dialog box will indicate that the database software is unavailable and provide a link for manual download. Alternatively, refer to the Database Driver Description section, which provides a link for downloading the driver file.
- Fill in the connection information to establish a database connection. Enter myshop as the database name. For MySQL users, select InnoDB as the engine to preserve relationships among entities during database generation.

- Finally, click Test Connection to verify the connection. Then, click OK to close the configuration dialog box.
Drawing an ERD
- Create an ERD. Right-click on Entity Relationship Diagram in the Diagram Navigator and select New Entity Relationship Diagram from the pop-up menu.

- Immediately name the diagram MyShop ERD in the top-left corner. Ensure Physical Model is selected in the top-right corner.
- Create an entity. Click on Entity in the diagram toolbar and drag it onto the diagram. Name it Product and press Enter to confirm.

- Let's add columns to the entity. Right-click on Product and select New Column from the pop-up menu. Enter +id:int as the name (note: The plus sign indicates this is a Primary Key column). Press Enter.

- Next, add another column name : varchar(255). The entity should now resemble the image shown below:

- Right-click on the name column. You will observe that the Nullable option is checked. This signifies that you can leave the product name empty when inserting or updating a product record.

Generating the database
- Select Tools > Database > Generate Database... from the main menu.
- In the Database Code Generation dialog box, select Export to database and Generate sample data. If these options are not selected, neither the database nor sample data will be created.

- Click OK to start generation.
Checking your database
You can now check your database to see if the name column was generated as nullable. Below is a screenshot captured under MySQL.

Altering the nullable setting
- Now, return to the diagram. Right-click on the name column and deselect Nullable from the pop-up menu. Immediately, the symbol 'N' will no longer appear in the entity shape.

- To update the database, select Tools > Object-Relational Mapping (ORM) > Generate Database... from the main menu.
- In the Database Code Generation dialog box, select Update Database for the action to be performed.

- Click OK to start updating the database.
- Check the database again. This time, you will observe that the name column is no longer nullable.
